Window Perforated - Die-Cut Adhesive Vinyl
- Product Code: LF-PRF
- Availability: In Stock
Available Options
Acreage:
12" * 12" = 1 ft2
- Shipping
- Factory Pickup
Blind Shipping From:
Off
Change
Shipping To:
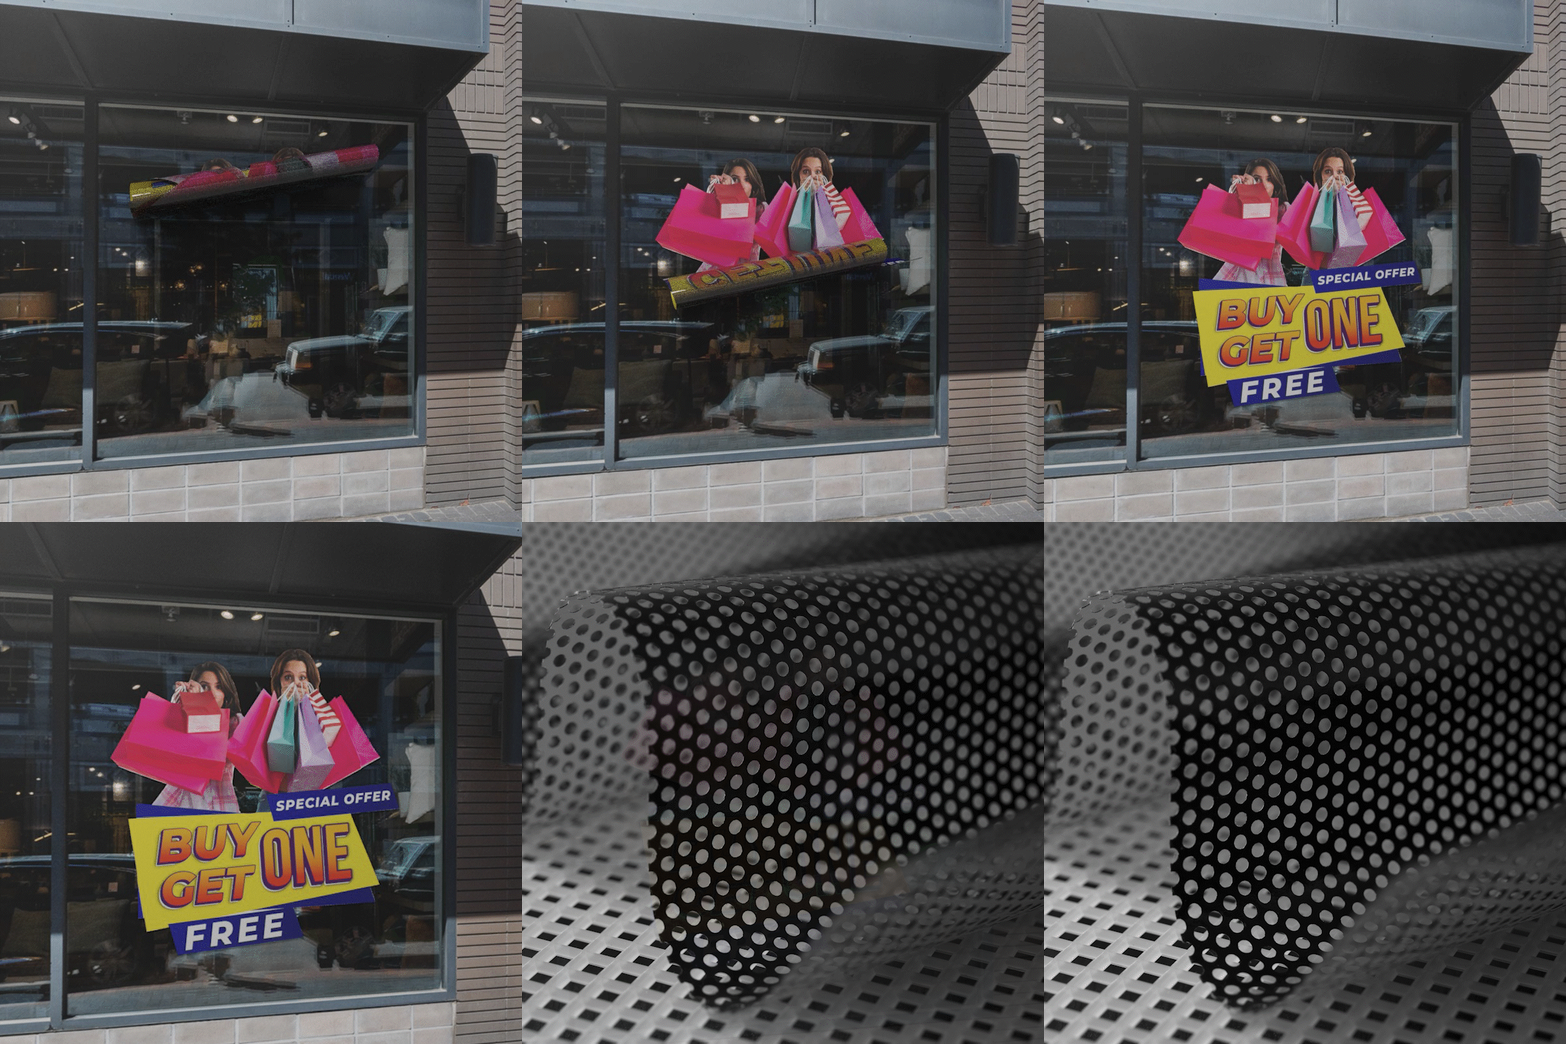
What’s great about perforated adhesive vinyl for windows?
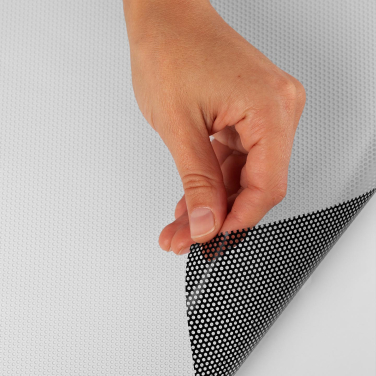
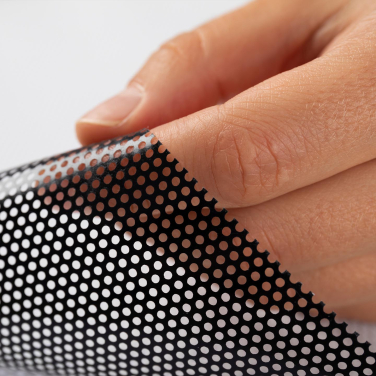
Perforated adhesive vinyl for windows provides a range of exceptional benefits. It offers enhanced privacy by allowing you to maintain natural light while restricting the view from the outside. It’s an excellent medium for creative advertising, enabling the display of perforated window decals with eye-catching graphics and promotional messages. Additionally, this vinyl provides UV protection, safeguarding your interior from sun damage. It also contributes to temperature control, minimizing heat buildup and ensuring a comfortable indoor environment. Installation and removal are effortless, thanks to its adhesive backing, and it leaves no residue. The material is durable, resistant to weather conditions, and versatile, making it suitable for various applications. Custom perforated window decals is a remarkable solution that combines privacy, advertising potential, UV protection, temperature control, ease of use, durability, and versatility.
Product Features:
- Minimum size: 1.5” circumference cuts only
- Maximum size: 48” high x 10’ wide
- Product is available cut only (no weeding or transfer tape)
- Printed on one side at 720 x 72 resolution
- No Lamination and UV Print options available
- Safe for long-term indoor and outdoor use
- Resistant to sunlight and moisture.
- Custom Options: Available in custom perforated vinyl designs tailored for storefront windows or other applications
- Turnaround Time: Quick production within one business day, ensuring timely delivery
Additional Considerations:
Brand Visibility: Perfect for storefront windows, allowing businesses to advertise while maintaining privacy.
Custom Designs: Tailored custom perforated window decals to meet specific branding and promotional needs.
Seamless Application: Adhesive backing ensures easy application without leaving residue, making it ideal for temporary or long-term use.
Best Practices:
- We cannot color match. Please see our Color Optimization Guide in order to get great results including true black and blue colors.
- Get the perfect cut. Please see our Die Cut Printing Guide for instructions on how to setup your design file.
- Consider professional installation. If you're uncertain about your ability to install perforated adhesive vinyl for windows correctly or if your project is large or complex, it may be worth considering professional installation. Professional installers have the skills, experience, and specialized tools to handle challenging installations and ensure a high-quality result. They can save you time, provide warranties or guarantees, and navigate intricacies such as complex designs or irregular surfaces. While professional installation comes with a cost, it can be a worthwhile investment for a seamless and professional finish, particularly for more complex projects.
- Planning. Take time to plan the placement of the vinyl before you begin. Consider the overall design, positioning, and any specific requirements. Use masking tape or a temporary marker to create guidelines or reference points on the surface.
- Alignment and Leveling. Ensure that the vinyl is aligned correctly and level. Use a measuring tape, ruler, or a T-square to help with accurate placement. Avoid relying solely on your eyesight, as it can sometimes be deceiving.
- Center Hinge Method. For larger vinyl pieces or intricate designs, the center hinge method can be useful. Apply a small piece of masking tape vertically down the center of the vinyl, aligning it with the center guideline on the surface. This temporary hinge allows you to fold one side of the vinyl back while working on the other, ensuring easier and more precise placement.
- Application from the Center. Start applying the vinyl from the center and work outward. This approach helps to minimize air bubbles and allows for better control over the placement. Smooth out the vinyl as you go using a squeegee or soft cloth.
- Pressure and Firm Adhesion. Apply firm pressure to ensure proper adhesion of the vinyl. Use a squeegee or your fingers (covered with a soft cloth) to press the vinyl onto the surface, working from the center to the edges. Pay extra attention to corners, curves, and intricate details.
- Heat Application. As mentioned earlier, heat application can aid in the adhesion process. Use a heat gun or hair dryer on low heat to warm the vinyl while applying pressure. This helps activate the adhesive and allows the vinyl to conform better to the surface.
- Take Your Time. Applying perforated adhesive vinyl for windows requires patience and attention to detail. Take your time during the application process, ensuring that the vinyl is placed smoothly and accurately. Rushing can lead to mistakes, air bubbles, or misalignment.
- Inspect and Adjust. Once the vinyl is applied, inspect the surface carefully to ensure there are no bubbles, wrinkles, or misalignments. If you spot any issues, gently lift the vinyl and reapply, using a heat gun if necessary.


