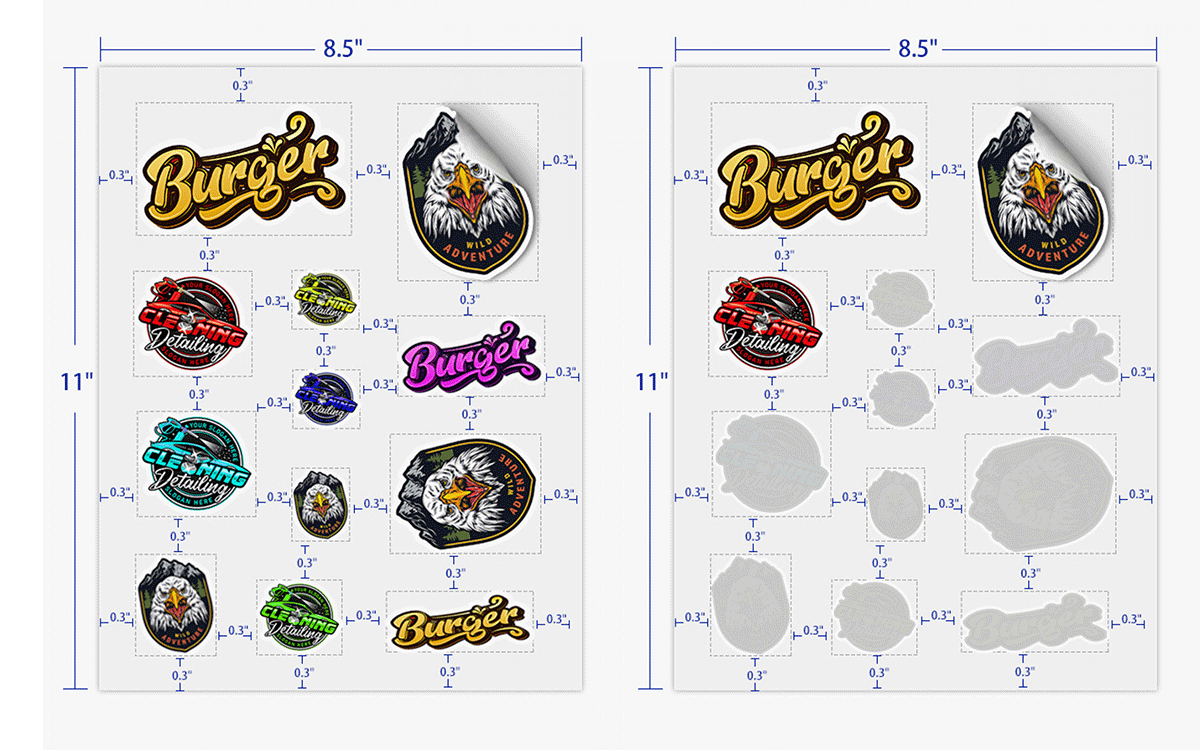
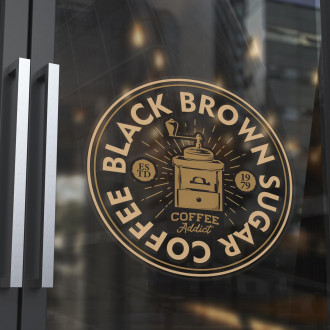
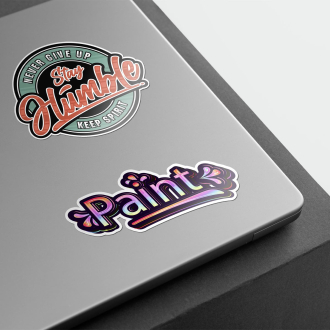
Die-cut stickers have become increasingly popular in branding, personalization, and promotion. If you want to create exceptional stickers that stand out, this comprehensive guide will help you learn about die-cut sticker makers, the processes involved, and expert tips to ensure your stickers are top-notch. Whether you are a small business owner, an artist, or an avid crafter, you will find valuable insights here.
What is a Die Cut Sticker?
A die-cut sticker is a type of sticker that is cut into a specific shape, allowing it to follow the contours of the design rather than being cut in the traditional rectangular or circular forms. This precise cutting technique allows for various creative designs that make your stickers unique.
Benefits of Die Cut Stickers
- Unique Shapes: The primary benefit of die-cut stickers is their ability to be cut into custom shapes.
- Enhanced Branding: Die-cut stickers can help to improve your brand visibility with eye-catching designs.
- Durability: High-quality die-cut stickers can be made from vinyl, which is weather-resistant and long-lasting.
- Versatility: They can be used on various surfaces, be it cars, windows, laptops, or walls, for promotional use or decals.
How to Die Cut Stickers: The Process
Creating die-cut stickers involves seven steps, from design to execution. Here’s a step-by-step breakdown:
Step 1: Design Your Sticker
The first step is to design your sticker. You can use design software like Adobe Illustrator, Canva, or Inkscape. Make sure your design is in a vector format, as this will ensure the best results when cutting.
Step 2: Choose Your Materials
Using the right materials is essential. The most common materials for die-cut stickers include:
Vinyl: The most popular choice due to its durability and weather resistance.
Paper: For short-term use or indoor applications, the paper may suffice.
Clear Adhesive: This gives a transparent look to specific designs.
Step 3: Select a Die Cut Sticker Maker
Next, choose the right die-cut sticker maker for your needs. Various options exist, including:
Cricut: A popular choice for crafters and DIY enthusiasts.
Silhouette: Offers versatile options for custom designs.
777Sign: A 15-year-old printing company offers various sticker types for printing.
Professional Printers: For businesses requiring volume production.
Step 4: Print and Cut
After printing your sticker design:
Load it into your die-cut machine.
Adjust the settings based on the material you are using.
Begin the cutting process and monitor it to ensure precision.
Step 5: Weeding the Sticker
Once the stickers are cut, you must remove the excess material around the design. This process is known as “weeding,” it requires patience but is essential for the final look.
Step 6: Application of Transfer Tape
If your design has intricate details, applying transfer tape over the stickers ensures they stay together when transferred to the final surface.
Step 7: Stick Your Sticker
Finally, press your sticker firmly on the desired surface to ensure proper adhesion. Remove the transfer tape gently to avoid damaging the sticker.
How to Make Your Brand Stickers?
Brand stickers can be an essential part of marketing strategy. Here’s how to create your brand stickers:
- Develop a Concept: Think about the message you want to convey through stickers.
- Create Attractive Designs: Use captivating graphics and colours that resonate with your brand identity.
- Choose Quality Materials: Invest in high-quality vinyl or paper for durability.
- Promote and Distribute: Use your brand stickers during events or include them with product deliveries to enhance brand recognition.
What Do You Need to Make Vinyl Stickers at Home?
Making vinyl stickers at home can be a fun and rewarding process. Here’s a list of what you will need:
- Vinyl Material: Choose adhesive vinyl sheets.
- Die Cut Machine: A Cricut or Silhouette will work best.
- Design Software: This can be any vector graphic software.
- Transfer Tape: This is for applying your stickers smoothly.
- Weeding Tools: These help remove excess vinyl.
Can You Make Stickers with a Regular Printer?
Yes, you can make stickers with a regular printer, but there are some caveats:
- Use Adhesive Paper: Make sure to use high-quality adhesive sticker paper that is compatible with your printer.
- Print in High Quality: Set your printer to high-quality printing for the best colours.
- Cut by Hand or with a Craft Knife: You’ll have to cut your designs manually without a die-cut machine.
How Do You Stick Stickers Properly?
Sticking your stickers is essential for aesthetics and longevity:
- Clean the Surface: Make sure the surface is clean and dry.
- Align Carefully: Consider the placement before removing the backing.
- Press Firmly: Use your fingers to smooth out air bubbles while sticking.
How do you create a sticker from an image?
To create a sticker from an image, follow these steps:
- Choose the Image: Select a high-quality image you want to convert into a sticker.
- Use Design Software: Import the image into your design software and adjust colours.
- Create Cut Lines: Define the cut lines around the image for the die-cut machine.
- Print and Cut: Follow the printing and cutting process, as mentioned earlier.
How to Make Clear Tape Stickers?
Making clear tape stickers is a creative and affordable process. Here’s how you can do it:
- Print Your Design: Print your design as you want it to appear on regular printer paper.
- Apply Clear Tape: Place clear tape over the printed design.
- Cut Out the Sticker: Carefully cut around the design, leaving a small border.
- Peel and Stick: When ready, peel off the backing and apply it to your desired surface.
Can Cricut Vinyl Be Used as a Sticker?
Absolutely! Cricut vinyl is an excellent choice for making stickers:
- Durability: It’s challenging and weather-resistant, making it ideal for stickers.
- Customization: Available in numerous colours and finishes.
- Easy to Work With It cuts smoothly with a Cricut machine, allowing for intricate designs.
Conclusion
In conclusion, creating stunning die-cut stickers is an accessible project for anyone interested in crafting or branding. Following the steps outlined in this guide, anyone can turn their creative ideas into beautiful, personalized stickers. Be sure to visit 777sign Company for various die-cut sticker options and further resources for elevating your sticker-making endeavours.


