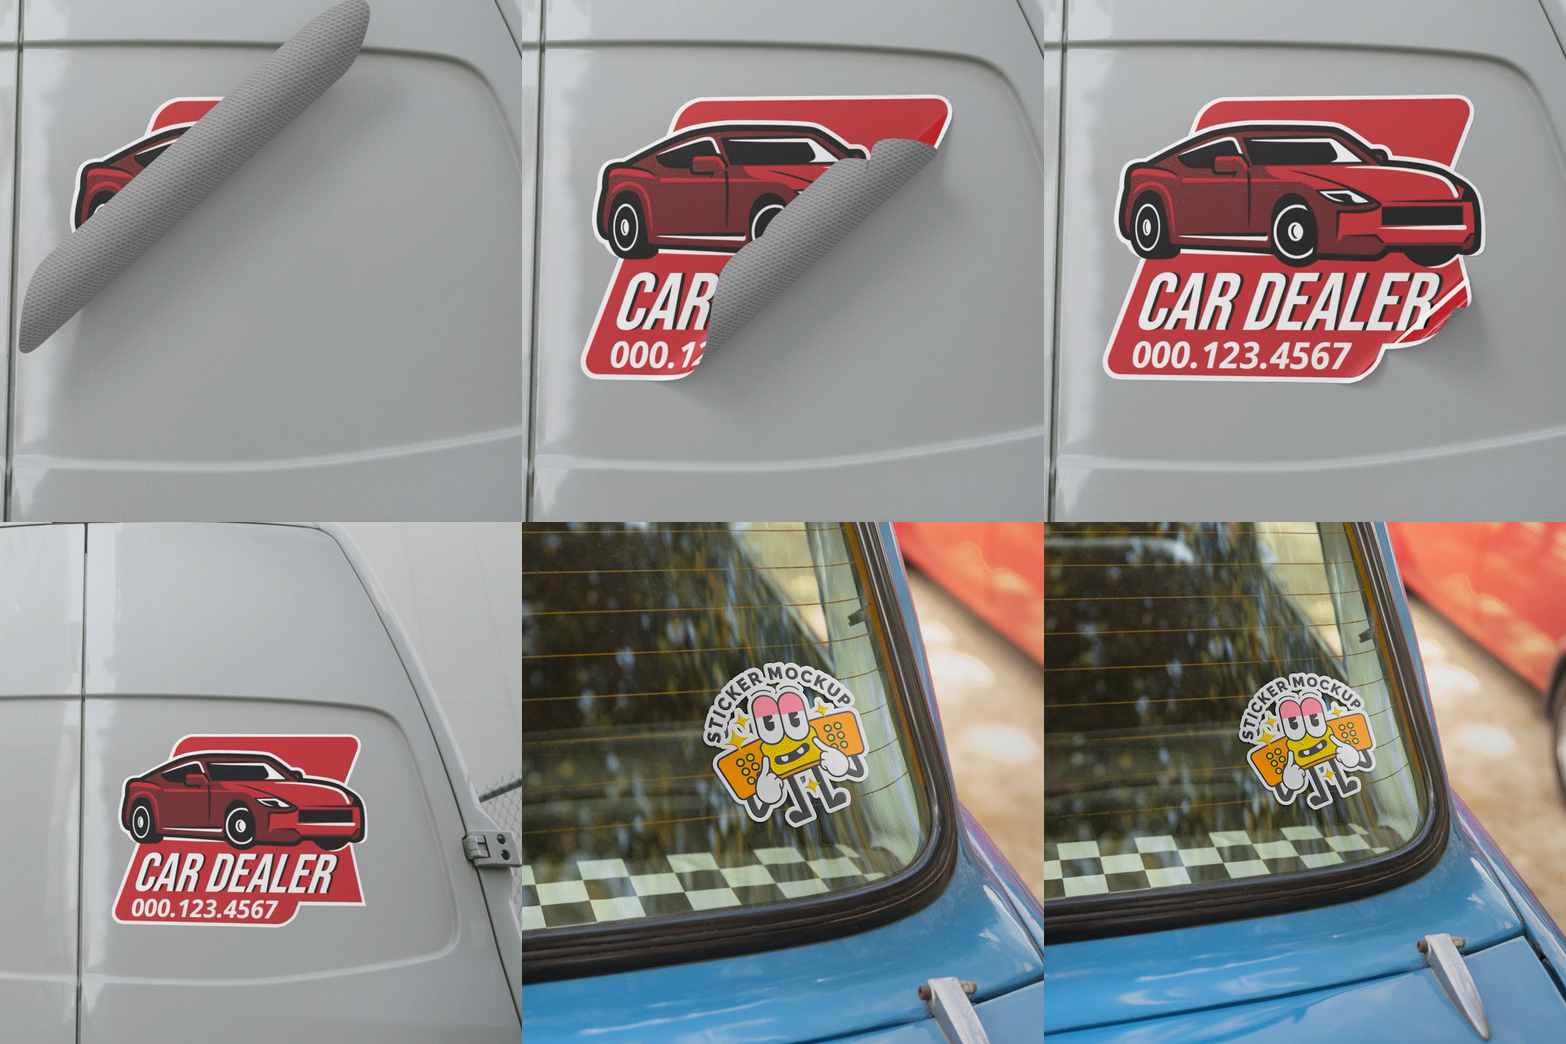
CONTOUR CUT / DIE-CUT - Air Release 3M
- Product Code: LF-CCAR3M
- Availability: In Stock
Available Options
Acreage:
12" * 12" = 1 ft2
- Shipping
- Factory Pickup
Blind Shipping From:
Off
Change
Shipping To:
What are the advantages of Air Release Arlon Adhesive Vinyl signs?
Arlon's air release adhesive vinyl is truly fantastic, offering a multitude of benefits that make it an outstanding choice for various applications. The air release channels incorporated into this vinyl make installation an absolute breeze, allowing for smooth, professional-looking results without the hassle of bubbles or wrinkles. It's incredibly convenient and time-saving, making it perfect for projects of any scale or tight timelines. With exceptional durability, Arlon vinyl stands strong against fading, cracking, and peeling, ensuring long-lasting vibrancy for both indoor and outdoor use. Its versatility knows no bounds, making it suitable for vehicle wraps, wall graphics, signage, and more. Arlon's air release adhesive vinyl truly excels in providing a user-friendly, reliable solution that meets the highest standards of quality and performance.
Product Features:
- Digitally printed in beautiful 720 x 720 resolution
- Air release vinyl is extremely sticky for permanent applications
- Huge maximum size of 52" high x 150' wide for a wide variety of uses
- Glossy lamination
- Highly durable and long lasting
- Ideal for indoor and outdoor use
- This material is not guarantee for all cars
- Waterproof and UV-resistant for an unwaveringly vivid image
Best Practices:
- We cannot color match. Please see our Color Optimization Guide in order to get great results including true black and blue colors.
- Get the perfect cut. Please see our Die Cut Printing Guide for instructions on how to setup your design file.
- Surface Preparation. Properly prepare the surface before applying Arlon Air Release Vinyl. Ensure the surface is clean, dry, and free from any dust, dirt, grease, or contaminants. Use a suitable cleaning solution recommended by Arlon and a lint-free cloth to thoroughly clean the surface.
- Temperature and Environment. Take note of the temperature and environmental conditions during installation. Follow Arlon's recommended temperature range for both the installation environment and the substrate. Maintain moderate temperature and low humidity to promote proper adhesion and minimize the risk of bubbling or wrinkling.
- Test Fit and Alignment. Conduct a test fit of the vinyl before removing the backing to ensure proper alignment and positioning. This step allows you to assess the placement, make any necessary adjustments, and confirm that the design fits as intended. Secure the vinyl temporarily with masking tape or low-tack adhesive during the test fit.
- Application Technique. Start the application from one edge and gradually work your way across the surface, using a squeegee or Arlon-recommended application tool. Apply even pressure to ensure proper adhesion while removing air bubbles and wrinkles. Work slowly and methodically, avoiding excessive stretching or pulling of the vinyl.
- Post-Installation Finishing. After applying the vinyl, use the squeegee or recommended application tool to go over the entire surface again, applying firm pressure to ensure maximum adhesion and to remove any remaining air bubbles. Pay attention to the edges and corners, ensuring they are securely adhered.
- Post-Installation Care. Allow sufficient time for the vinyl to fully adhere before subjecting it to any stress or cleaning. Follow Arlon's recommended curing time for the specific vinyl product. When cleaning, use mild soapy water or an Arlon-approved vinyl cleaner and a soft cloth or sponge to gently clean the surface.


