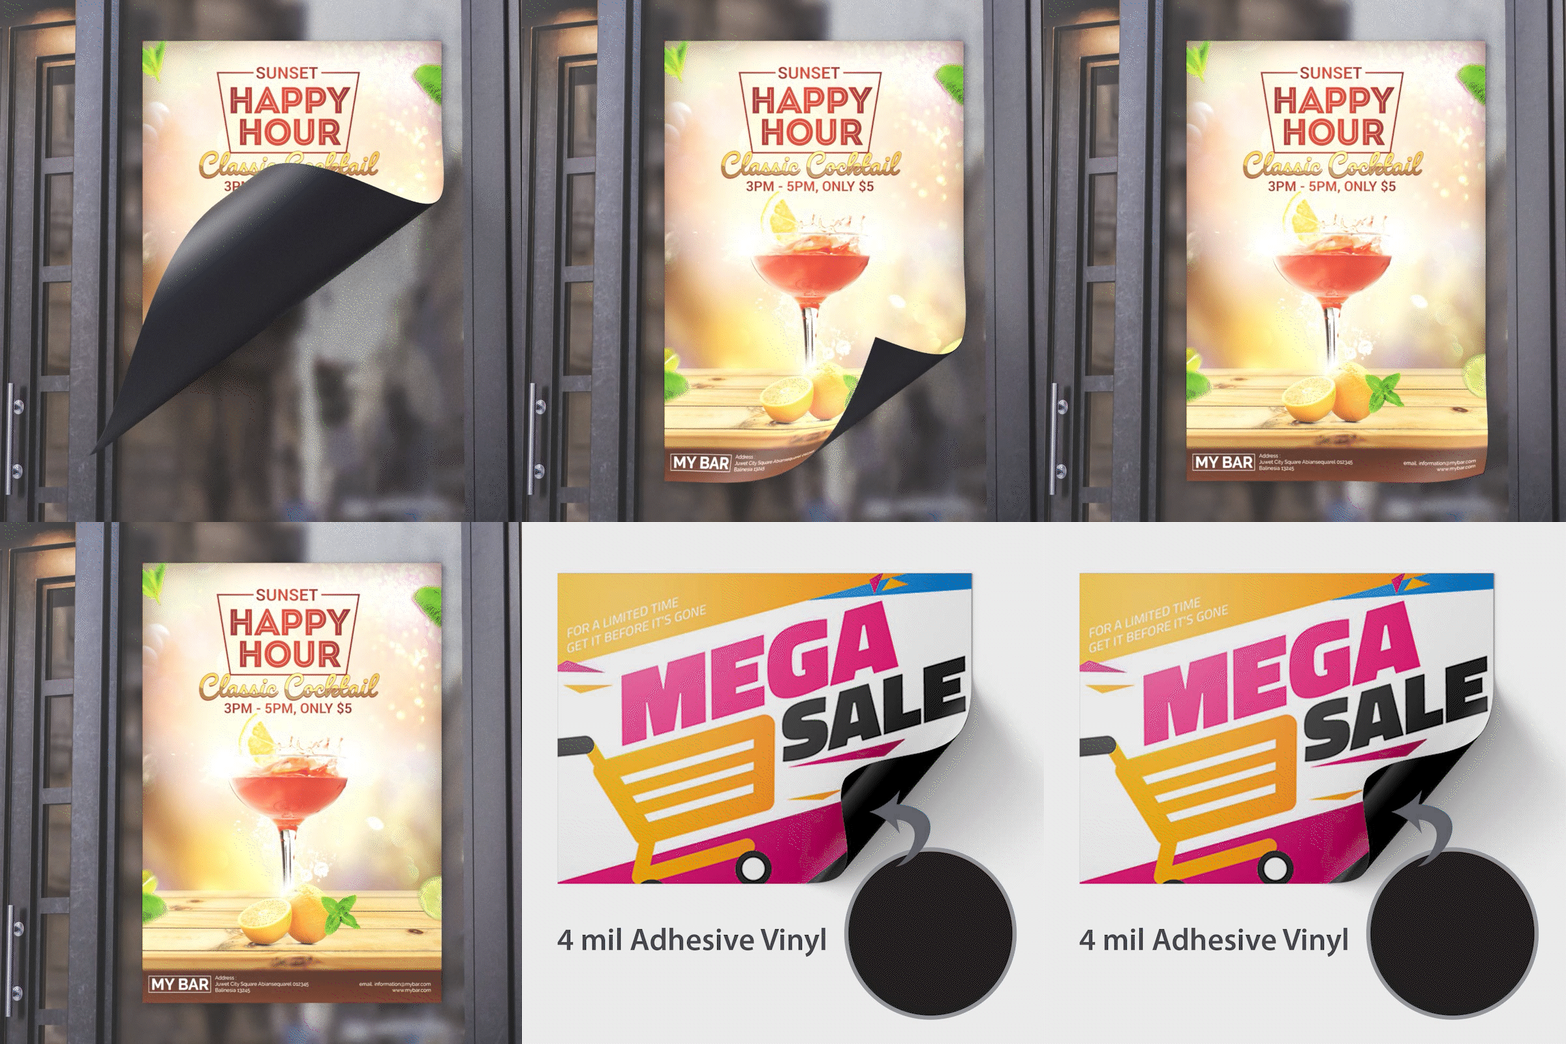
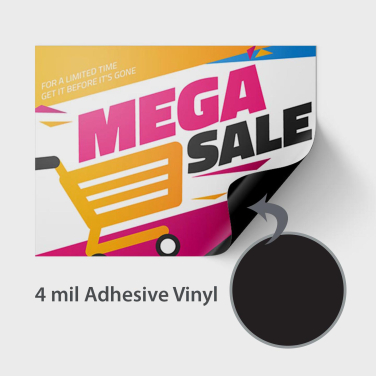
4 mil. Adhesive Vinyl gray backing
- Product Code: LF-ADH-4-G
- Availability: In Stock
Available Options
Acreage:
12" * 12" = 1 ft2
- Shipping
- Factory Pickup
Blind Shipping From:
Off
Change
Shipping To:
Why should I choose 4 mil. Adhesive Vinyl?
4 mil. Adhesive Vinyl with gray backing offers a range of exceptional qualities. Its versatility allows for a wide array of applications, including indoor and outdoor signage, window graphics, vehicle wraps, trade show displays, and wall decals. With a thickness that strikes a balance between flexibility and durability, this vinyl can withstand the elements and resist fading. Applying it is a breeze, thanks to its adhesive backing, making it suitable for professionals and DIY enthusiasts alike. The gray backing enhances the visibility and vibrancy of printed graphics, ensuring colors remain vibrant and true. Compatible with various printing methods, this vinyl enables high-quality, full-color designs. With its affordability and cost-effectiveness, 4 mil. Adhesive Vinyl is an excellent choice for both short-term and long-term applications.
Product Features:
- Gray back with a maximum size of 52" high x 150' wide
- Matte lamination not recommended or guaranteed for outdoor use
- These are heavy-duty adhesive vinyls, they are made to adhere to flat surfaces for a long time
- Once they’re applied, they’re not moving
- Also available in white back
- They’re weather and UV-proof
- The stunning HD 720 x 720-resolution image will continue to be visible for years to come
Best Practices:
- We cannot color match. Please see our Color Optimization Guide in order to get great results including true black and blue colors.
- Get the perfect cut. Please see our Die Cut Printing Guide for instructions on how to setup your design file.
- Planning and Measurements. Before applying the vinyl, carefully plan the placement and consider the dimensions and layout of the surface. Take accurate measurements to ensure the vinyl will fit properly and align with any surrounding elements or design features.
- Mock-Up or Templates. For more complex or precise placements, consider creating a mock-up or using templates. This can help visualize the final result, ensure proper alignment, and minimize mistakes during application.
- Positioning and Alignment. Take your time to position the vinyl accurately before making contact with the surface. Use measuring tools, guidelines, or markers as reference points to ensure straight lines and proper placement. Double-check the alignment before proceeding with the application.
- Hinge Method. For larger or more intricate designs, consider using the hinge method. This involves applying a small section of the vinyl to the surface while leaving the rest of it folded back. This allows for adjustments and ensures better control during application. Once the first section is positioned and smoothed, gradually unfold and apply the remaining vinyl while smoothing out any air bubbles or wrinkles.
- Smooth Application. Use a squeegee or similar tool to smooth out the vinyl as you apply it to the surface. Start from one side and work your way across, applying even pressure to ensure proper adhesion and to eliminate any air bubbles or wrinkles. Work slowly and methodically, paying attention to detail.


